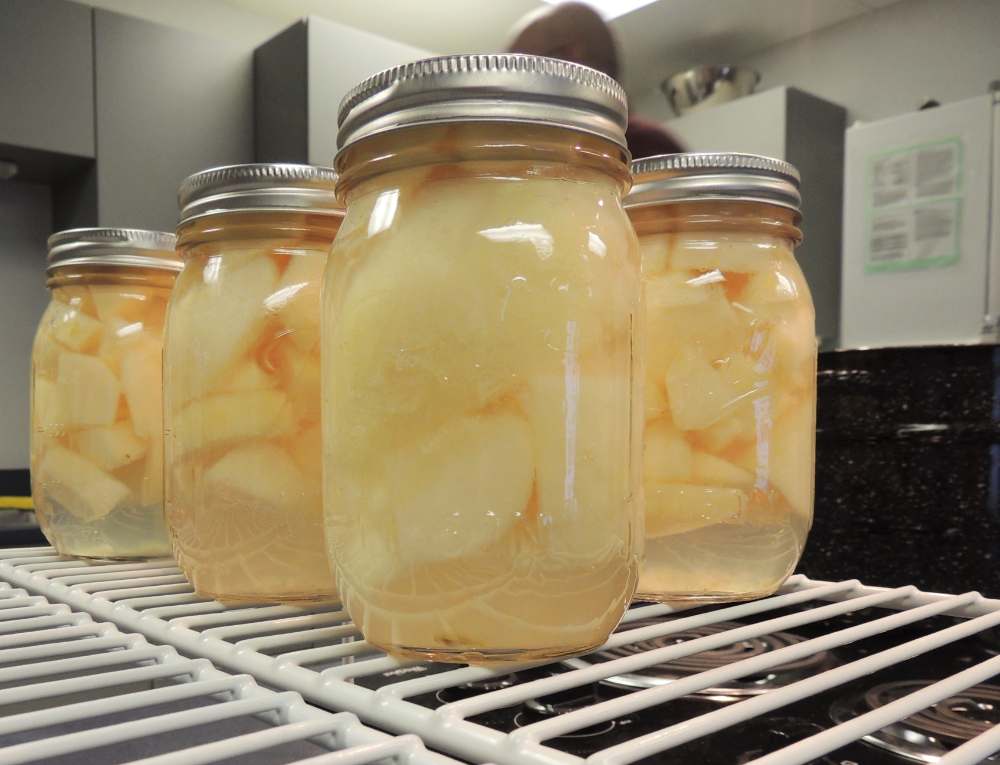
CC0 (public domain dedication)
If your CSA box or garden just handed you more tomatoes than you can eat this week, water bath canning is the easiest entry point into home preserving — no pressure canner required, and tomatoes are one of the most forgiving things to start with (as long as you respect the acidity rules below).
What you actually need
You don't need specialty equipment to get started. A basic setup covers you for years of tomato season:
- A large, deep pot with a lid — tall enough to cover jars by 1–2 inches of water. A dedicated canning pot with a rack is nice but not required for your first batch.
- Mason jars (pint or quart, regular or wide-mouth) with new lids — reuse the bands, but always use fresh lids for a reliable seal.
- A jar lifter — cheap, and it saves you from fishing scalding jars out of boiling water with tongs.
- A canning funnel — keeps the jar rims clean, which matters for getting a good seal.
- Bottled lemon juice or citric acid — the single most important item on this list, and the one beginners skip.
The safety rule that actually matters
Tomatoes sit right on the edge between "acidic enough for a water bath" and "not," depending on the variety and how ripe they are. That's why every reputable modern recipe has you add bottled lemon juice or citric acid to each jar — it's not a flavor choice, it's what makes water bath canning safe for tomatoes at all. Skipping it is the one shortcut you shouldn't take.
A straightforward first batch (crushed tomatoes)
- Wash and prep jars. Run jars through the dishwasher or a hot soapy wash, then keep them warm until you fill them.
- Blanch and peel. Drop tomatoes in boiling water for 30–60 seconds, then into ice water — the skins slip right off.
- Core, crush, and simmer. Remove the cores, crush the tomatoes, and simmer them for a few minutes to release excess liquid.
- Acidify each jar. Add the specified amount of bottled lemon juice or citric acid directly to each jar before filling — this is per-jar, not per-batch.
- Fill, leaving headspace. Ladle in hot crushed tomatoes, leaving about ½ inch of headspace, then run a thin spatula around the inside to release air bubbles.
- Wipe rims, lid, and band. A clean rim is what actually seals — wipe it with a damp cloth before adding the lid.
- Process in the water bath. Lower jars into boiling water (covered by 1–2 inches), boil for the time your recipe specifies (adjusted for Northern Colorado's elevation — see below), then let them sit undisturbed for several minutes once you turn off the heat.
- Cool and check seals. Once cooled, lids should be concave and not flex when pressed. Anything that didn't seal goes in the fridge to use within a few days — not back on the shelf.
Don't skip the elevation adjustment
Fort Collins, Loveland, Greeley, and Windsor all sit at roughly 4,700–5,400 feet — high enough that standard sea-level processing times are too short. Most tested recipes include an altitude adjustment table; at this elevation, you're typically adding 10–15 extra minutes of processing time compared to sea level. Check the specific recipe you're using rather than guessing.
Once you've got a batch of crushed tomatoes under your belt, the same basic process (clean jars, tested recipe, correct acid, correct processing time, elevation adjustment) carries over to salsa, tomato sauce, and eventually pickles. Start simple, and the rest gets easier from here.